How to Clean Different Types of Flooring Safely

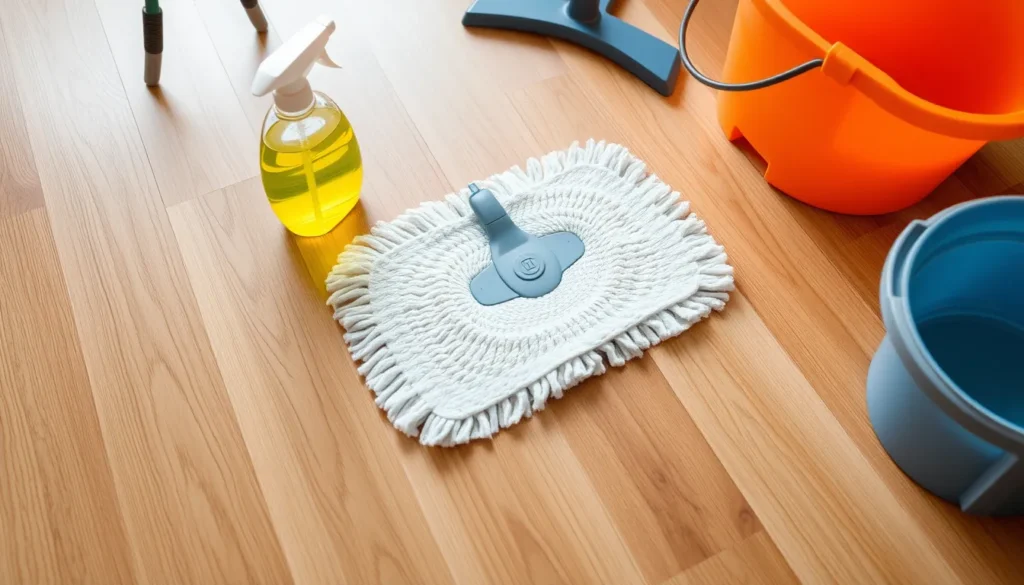
This guide is for anyone who wants to keep their home looking fresh without risking costly damage—whether you’re a busy parent, a first‑time renter, or a DIY enthusiast. It walks you through the chemistry behind floor care, showing how pH‑neutral cleaners, moisture levels, and finish types affect each surface.
You’ll learn which everyday tools—like a microfiber mop or an abrasive pad—are safe for hardwood, tile, vinyl, carpet, and more. Follow the step‑by‑step instructions to spot‑clean, deep‑clean, and maintain every floor type confidently, so you can avoid common pitfalls and preserve the original look.
Understanding Flooring Materials and Their Specific Needs
Hardwood floors rely on a thin wood veneer over a solid or engineered core. The wood fibers swell when exposed to excess water, and the surface finish—often a polyurethane sealant—can be softened or clouded by alkaline or acidic solutions.
Laminate mimics wood or stone but consists of a photographic layer bonded to a high‑density fiberboard core. Its protective wear layer is sensitive to abrasive pads and can delaminate if too much moisture penetrates the seams.
Tile and natural stone are dense, non‑porous substrates, yet grout lines are porous and can absorb liquid. Acidic cleaners may etch marble or limestone, while alkaline solutions can degrade grout. A pH‑neutral cleaner with a soft‑bristled brush works best for routine care.
Vinyl and linoleum are flexible sheet or plank materials with a printed surface protected by a clear finish. They tolerate mild moisture but can be lifted or stained by harsh chemicals or prolonged saturation.
Carpet and area rugs are composed of fibers that trap dirt and moisture. Over‑wetting can lead to mold, and strong solvents may break down the backing or cause discoloration. Spot‑cleaning with a gentle, pH‑balanced solution and a clean microfiber pad is safest.
General Safety Principles That Apply to All Floors
Before you reach for any cleaner, treat every floor as if it could react to the wrong chemical or excess moisture. A quick test patch—applying a small amount of the chosen solution to an inconspicuous area and waiting a few minutes—confirms that the finish won’t discolor, haze, or peel.
Read product labels carefully. Look for “pH‑neutral cleaner” when the floor’s manufacturer recommends it, and avoid anything described as “acidic,” “alkaline,” or “solvent‑based” unless the surface is specifically designed for such treatments.
- Ventilation: Open windows or run an exhaust fan to disperse fumes, especially when using scented or aerosol products.
- Protective gloves: Wear nitrile or latex gloves to keep skin from contact with cleaning agents.
- Water control: Dampen a microfiber mop or cloth rather than soaking it; excess water can seep into seams, joints, or backing.
- Tool hygiene: Rinse mops, scrub pads, and brushes after each use to prevent cross‑contamination and buildup of residue.
Following these baseline steps lets you move on to material‑specific guidance with confidence that you won’t unintentionally damage the floor’s sealant, finish, or underlying structure.
Cleaning Hardwood and Laminate Floors Safely
To follow the “How to Clean Different Types of Flooring Safely” approach on hardwood and laminate, start with a gentle dust‑off. Use a soft‑bristled broom, a vacuum with a hardwood floor attachment, or a dry microfiber mop to capture grit that could scratch the finish.
- Dry‑mop the surface. A clean microfiber mop glides across the floor, removing any remaining fine dust without introducing moisture.
- Apply a pH‑neutral wood cleaner. Lightly mist the cleaner onto the mop—not directly onto the floor—and sweep in short sections. The neutral pH protects polyurethane or other sealants from degradation.
- Limit water exposure. Keep the mop barely damp; excess liquid can seep into seams, joints, or backing, especially on laminate.
- Dry promptly. After each pass, follow with a dry microfiber cloth to absorb residual moisture and prevent streaks.
- Spot‑clean spills. Blot immediately with a dry cloth, then use the same pH‑neutral solution for any lingering residue.
- Maintain the finish. Avoid abrasive pads; instead, use a soft cloth for occasional polishing and reapply a compatible sealant according to the manufacturer’s schedule.
Regularly repeating this routine keeps the surface glossy, prevents wear on the finish, and ensures the floor remains safe for everyday traffic.
Caring for Tile, Stone, and Grout
Begin each cleaning session by sweeping or vacuuming with a soft‑bristle brush attachment to lift loose dirt and grit that could scratch tile or stone surfaces.
Mix a pH‑neutral cleaner—or a stone‑specific formulation—according to the label, then apply it with a microfiber mop. The neutral pH protects the glaze on ceramic tiles and prevents etching on natural stone.
Avoid acidic cleaners, bleach, or any product that lists a low pH, as these can dull the finish and weaken grout bonds. If a spill requires spot‑cleaning, blot with a damp cloth and immediately rinse with clean water.
- For glazed ceramic, use a soft sponge and gentle circular motions.
- For polished stone, work with a non‑abrasive pad or a soft‑bristled brush.
- For textured or matte tiles, a medium‑soft scrub brush works well without harming the surface.
After the tile is clean, apply a water‑based sealant to grout lines every six months or as recommended. This repels moisture, reduces staining, and extends the life of both grout and tile.
Maintaining Vinyl and Linoleum Surfaces
Vinyl and linoleum rely on a thin wear layer that can be softened by harsh chemicals or excessive abrasion. Start each cleaning session with a pH‑neutral cleaner diluted in warm water; apply it with a microfiber mop and wring out excess moisture so the floor stays only damp, not wet.
Avoid any abrasive pad or scouring brush. Even a seemingly gentle scrub can wear through the finish (often a polyurethane‑type coating) and expose the backing to staining.
For sticky residues—tape glue, food spills, or gum—use the spot‑cleaning method: dampen a soft cloth with the pH‑neutral solution, press gently on the spot for a few seconds, then lift. If residue remains, apply a small amount of mineral oil to the cloth, test in an inconspicuous area, and rub lightly until the tackiness lifts.
To bring back lost shine, wipe the surface with a clean, slightly damp microfiber mop followed by a dry one to buff out water marks. For a deeper boost, a thin layer of a water‑based sealant designed for vinyl can be spread with a soft mop, then allowed to cure per the product instructions. This restores gloss while protecting the wear layer.
Proper Care for Carpets and Area Rugs
Turning to softer floor coverings, start each cleaning session with a thorough vacuum. Use a vacuum equipped with a rotating brush or beater bar set to a low‑speed setting; this lifts dirt without grinding fibers. Overlap strokes by about 10 % and work in sections, pausing to adjust the height control for plush rugs versus low‑pile carpets. For high‑traffic areas, a quick‑pass brush roll can remove surface grit before it embeds.
For spills, act fast with spot‑cleaning. Blot excess liquid with a clean white cloth, then apply a few drops of a pH‑neutral cleaner diluted in water. Test the solution on an inconspicuous spot first, then gently dab the stain with a microfiber mop, working from the outside toward the center to prevent spreading.
Steam cleaning is safe on most synthetic fibers and low‑pile rugs when the manufacturer confirms heat tolerance. Use a handheld steamer on the lowest setting, keeping the nozzle moving and never saturating the pile. Over‑wetting can cause mold growth and weaken backing adhesives, so always allow the carpet to dry completely before walking on it.
If odors persist, stains reappear after multiple attempts, or the carpet has a delicate antique weave, schedule a professional cleaning. Experts have equipment that extracts moisture efficiently and can apply appropriate conditioners without risking damage.
Troubleshooting Common Problems and When to Call a Pro
If you spot streaks that reappear after a pH‑neutral cleaner and a microfiber mop, first try a fresh mop head and a clean water rinse. Persistent streaks often mean residue from a previous product; a quick spot‑cleaning with warm water and a mild soap, followed by a thorough rinse, can restore shine.
Warping or cupping on hardwood and laminate usually signals excess moisture. Immediately dry the area with a clean, dry towel and improve ventilation. If the board lifts or the finish (e.g., polyurethane) bubbles, the damage is likely beyond a simple fix and a flooring specialist should assess whether sanding and refinishing are required.
Discoloration on tile, stone, or grout may indicate mold or a failing sealant. Scrub the grout with a soft brush and a diluted pH‑neutral cleaner. If the stain persists or the grout crumbles, a professional re‑grouting or sealant application is advisable.
- Quick fix: Replace a damp‑wetted microfiber mop, rinse thoroughly, and dry the floor.
- When to call a pro: Repeated warping, bubbling finishes, crumbling grout, or mold that spreads beyond a small patch.
